Assembly made easy
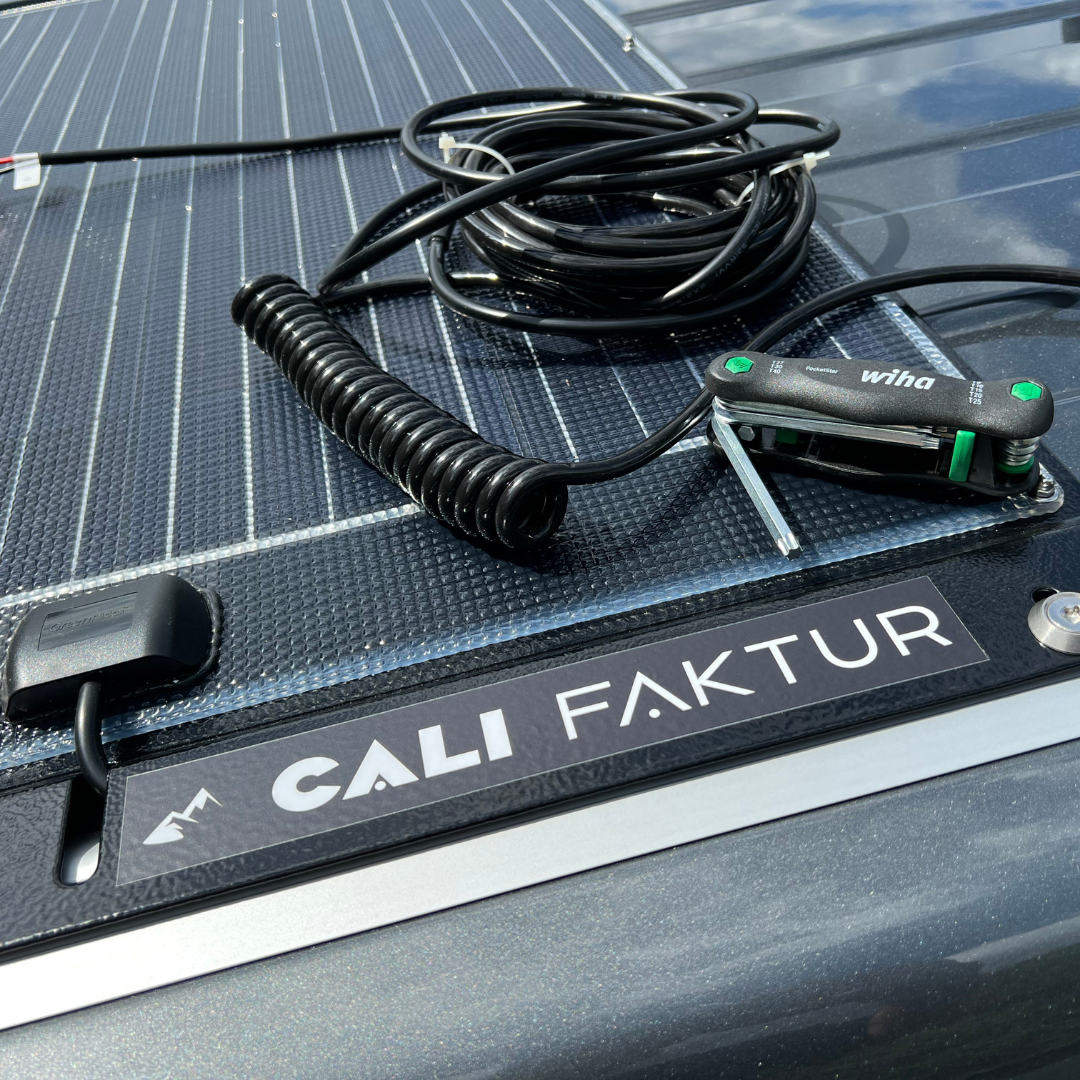
Once the module is placed on your roof, it is screwed into the existing C-rail at 6 points.
You do not interfere with the vehicle electronics, nor are there any visual defects left behind when dismantling. This way you maintain the value of your VW California, or increase it with your solar module.
If you still want to rely on an expert, we have a large network of verified partners who will be happy to carry out the installation for you.
Insights into our customers' assembly


Downloads
YOU CAN DO IT!
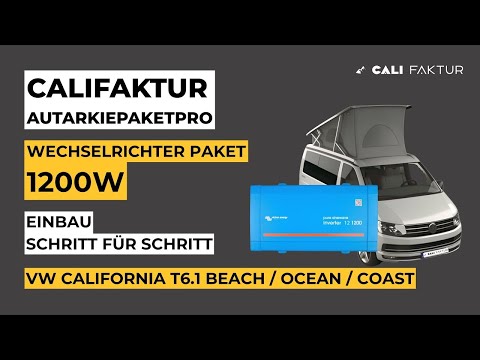
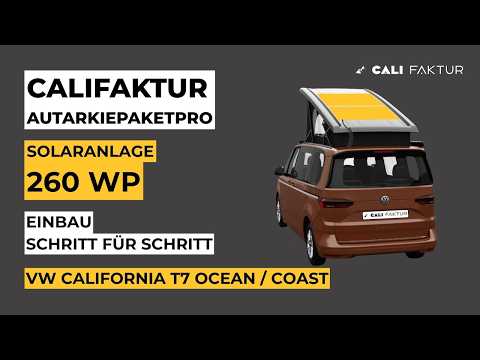
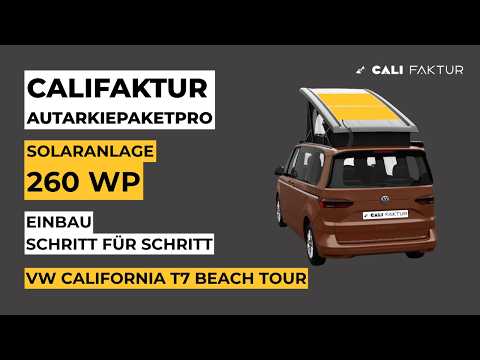
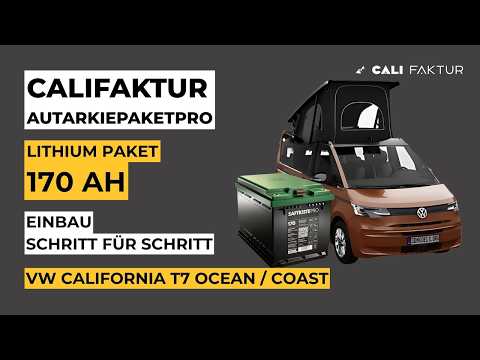
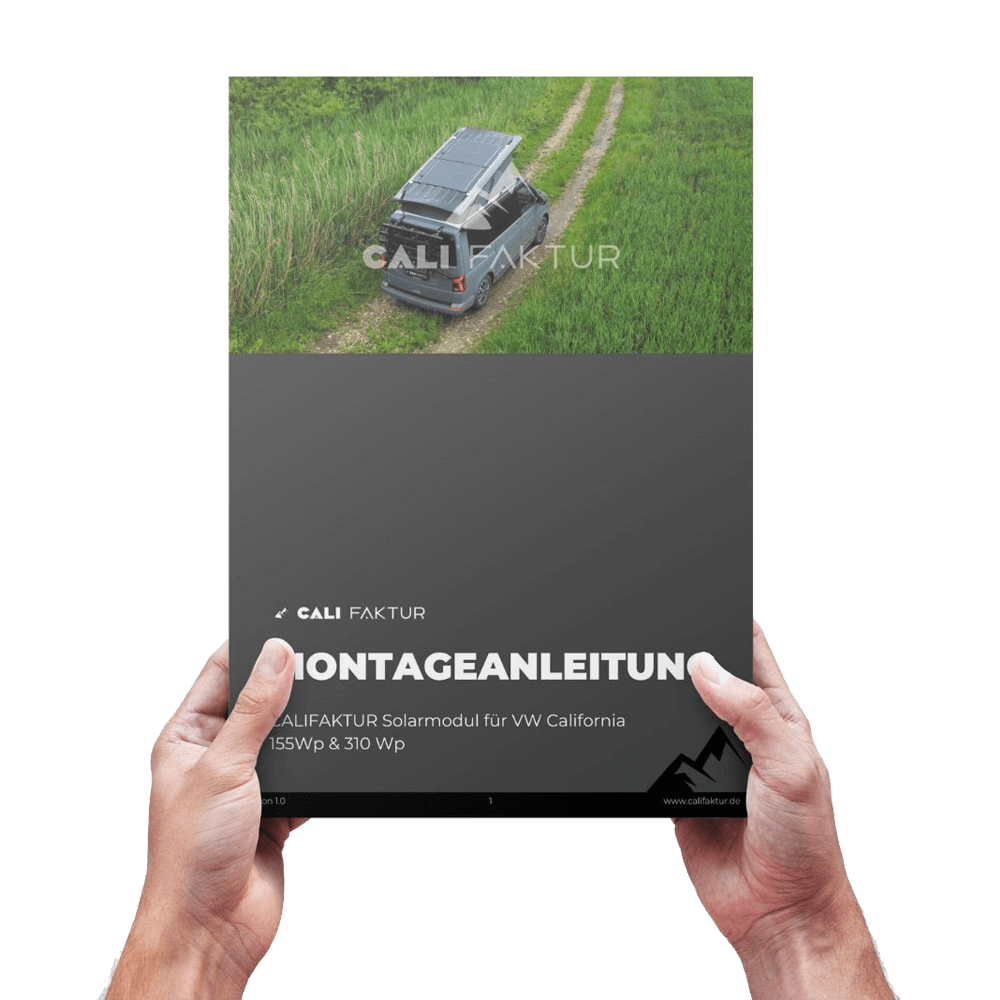
Your personal instructions
Our complete package includes detailed and easy-to-understand assembly instructions. This ensures you can easily install the CALIFAKTUR Offgrid Package PRO in your VW California, even without extensive DIY skills – guaranteed! More than 2,500 CALIFAKTUR customers have already proven it.
PRESERVING THE VALUE OF YOUR VW CALIFORNIA
No drilling or gluing required
When developing our CALIFAKTUR solar module, it was particularly important to us to maintain the value of a vehicle like the VW California. That's why we developed a module that doesn't require drilling or gluing. If the module is ever removed from your roof, it won't leave any residue.
THE CALIFAKTUR COMPLETE SOLUTION
The all-round carefree package
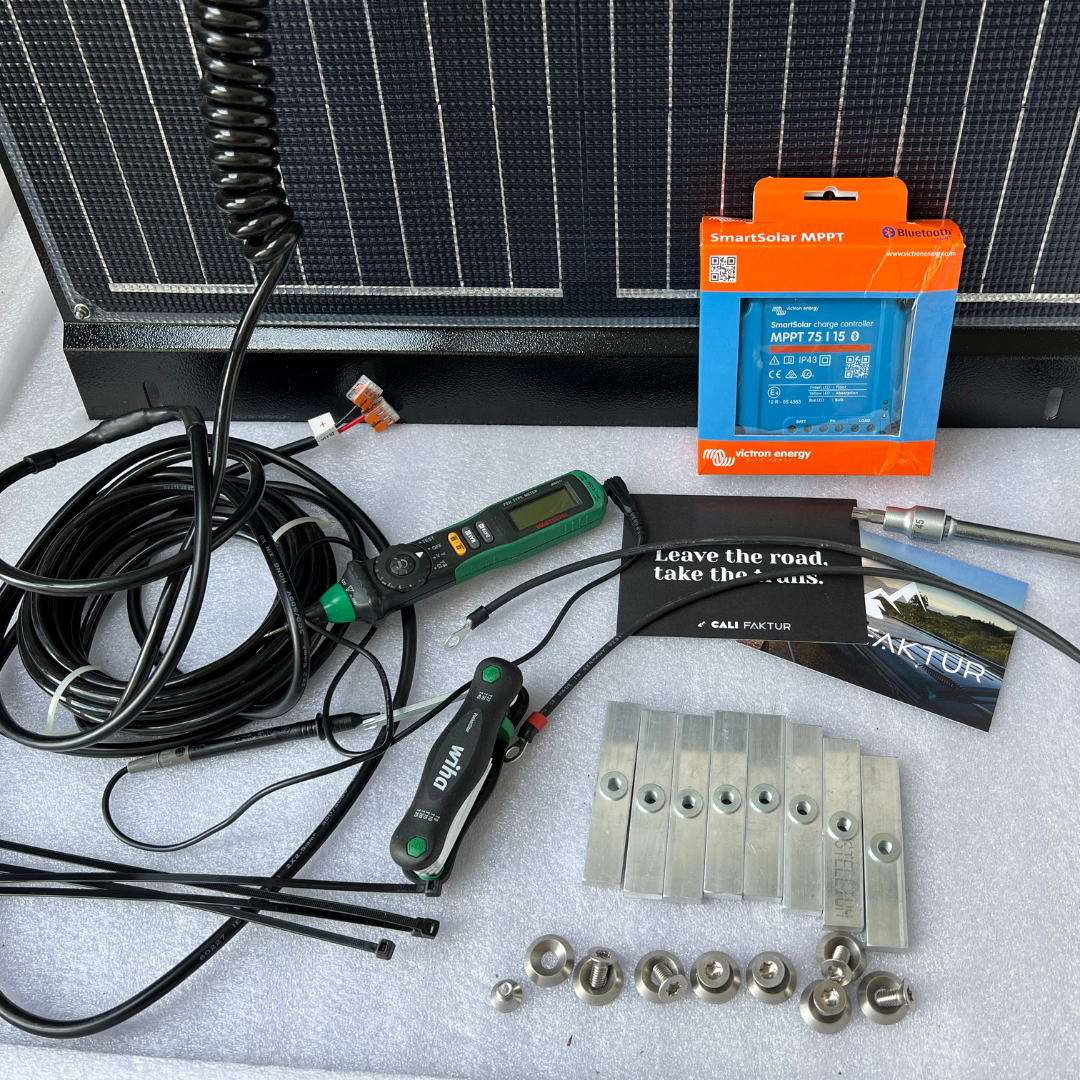
When you order one of our CALIFAKTUR solar modules, your package will contain all the components you need for installation.
In addition to the high-quality solar module, your package includes a charge controller, all necessary cables, slot nuts and screws for fastening and detailed and easy-to-understand assembly instructions.
Open the package, put it on your roof, connect the cable and off you go.
Insights into our customers' assembly

On Instagram
Follow us on Instagram and you'll see detailed montages from our customers every now and then. You'll find inspiration in our story highlight "Montage".
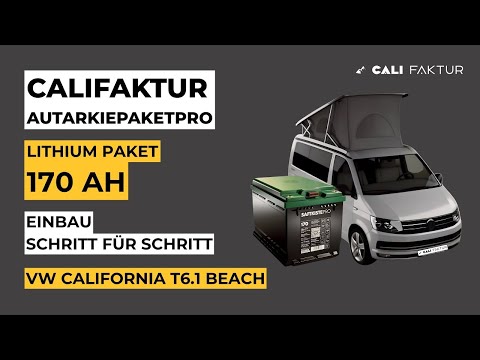
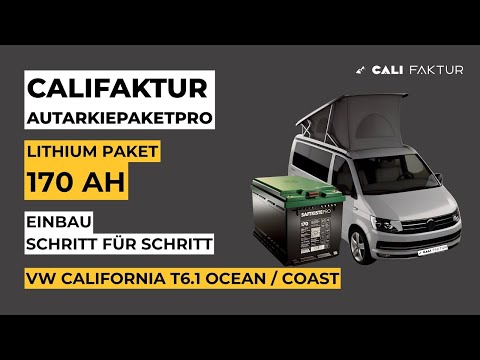
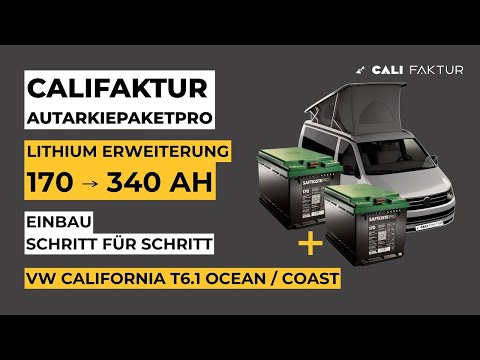
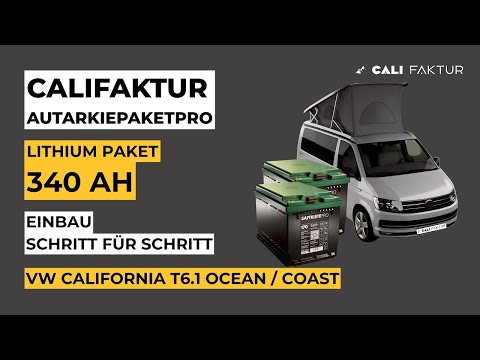
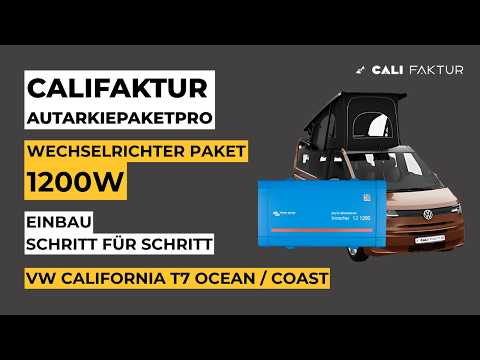
And YouTube
You can also find detailed videos on assembly on YouTube from our dear friends @losgeloest.official and @familiemitbulli.